Call Us Now !
+8615559551216

Order Online Now !
info@gsolarsbracket.com


 en
en es
es pt
pt ar
ar hr
hr ro
ro

To install an L-foot system on metal roof, follow steps:
1.Safety: Before starting any installation work, ensure that you have the necessary safety equipment, such gloves, safety glasses, and a safety harness if working at heights.
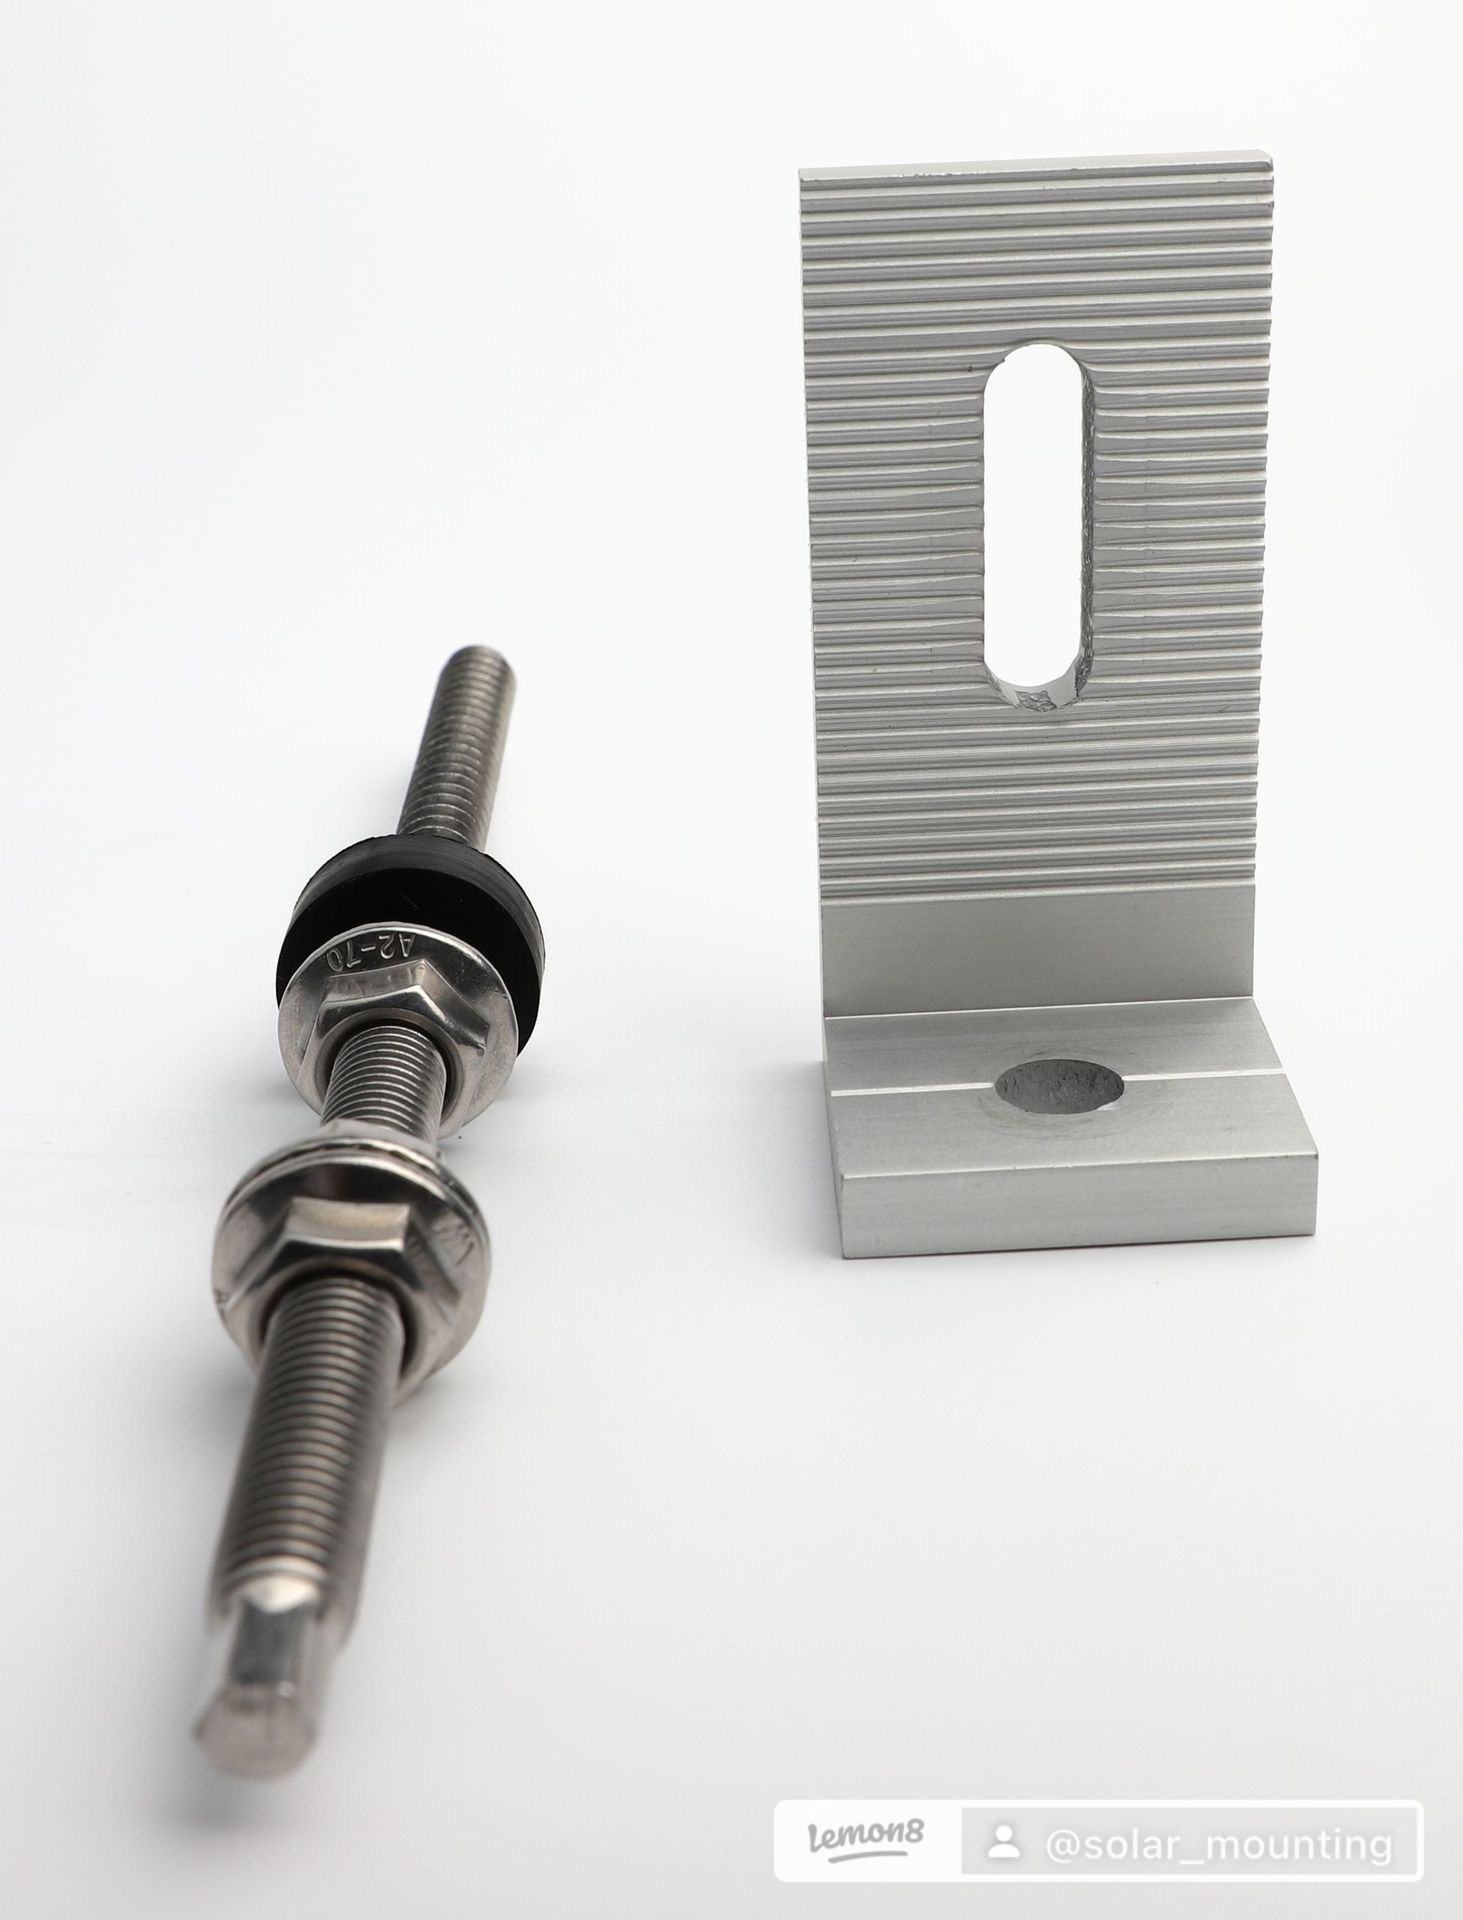
2.Gather the required materials: You will need L-foot brackets, stainless steel screws or bolts, solar bracket aluminum rail, grounding equipment, and the necessary tools like a drill, screwdriver, and wrench.
3.Verify roof compatibility: Ensure that the metal roof is suitable for solar panel installation. Check the roof material, its condition, and the manufacturer's guidelines to confirm compatibility.
4.Determine panel layout: Decide on the location and layout of the solar panels on the roof. Take into consideration factors such as available roof space, shading, and aesthetic preferences.
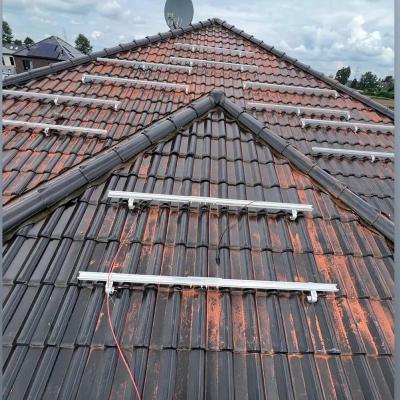
5.Mark placement of L-foot brackets: Determine the placement of the L-foot brackets based on your panel layout. Use chalk or a pencil to mark the positions where you will attach the L-foot brackets.
6.Pre-drill holes: Pre-drill holes into the roof surface based on the marked positions for the L-foot brackets. Ensure that the drill bit size matches the diameter of the screws or bolts you will be using.
7.Install L-foot brackets: Attach the L-foot brackets to the pre-drilled holes using stainless steel screws or bolts. Ensure that they are securely fastened but avoid overtightening, as it could damage the roof.
8.Install flashing: Install appropriate flashing around each L-foot bracket to provide a waterproof seal. Follow the manufacturer's instructions for the specific flashing installation process.
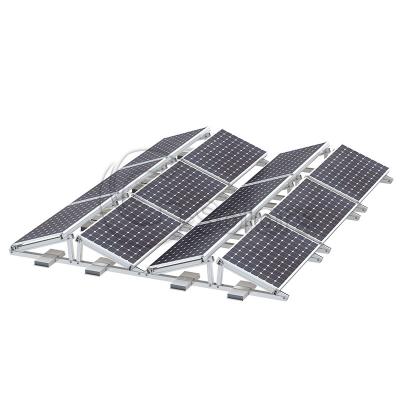
9.Attach rails: Install aluminum rails onto the L-foot brackets. Slide the rails into the bracket slots and secure them using the provided hardware.
10.Grounding: Install the necessary grounding equipment according to local electrical codes. This may involve attaching ground lugs to the aluminum rails and connecting them to the grounding system.
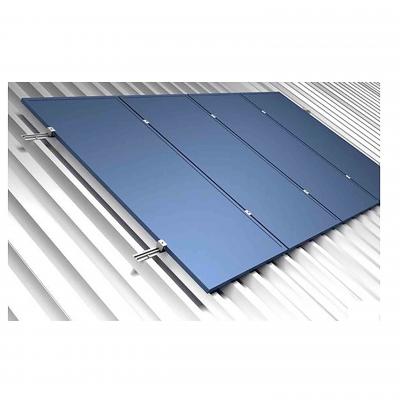
11.Panel placement: Once the rails are securely installed, you can proceed with placing the solar panels onto the rails. Follow the panel manufacturer's instructions for proper attachment and alignment.
12.Secure panels: Use appropriate hardware to secure the solar panels to the rails, ensuring that they are tightly fixed in place.
13.Check connections and alignment: Double-check all the connections, ensuring that the panels are properly aligned and securely mounted on the rails. Make sure there are no loose components.
14.Test system: Once the installation is complete, it is recommended to test the solar system to ensure proper functionality and connectivity. Consult a professional electrician if needed.
Note: It is advisable to consult a professional solar installer or an electrician experienced in solar installations for complex or large-scale projects. They can provide personalized guidance based on your specific requirements and local regulations.

Please read on,stay posted,subscribe,and we welcome you to tell us what you think.
 IPv6 network supported
Sitemap
| Xml
| Privacy Policy
IPv6 network supported
Sitemap
| Xml
| Privacy Policy